Showing posts with label bases. Show all posts

Tuesday, 11 October 2011

Tutorial - Bases - Sand/Desert temple

Recently I just finished a set of bases that look great in person but I cannot take a good photo of to save my life.

Admire my blurry bases! I bet if they were blurry in real life everyone would buy them...
So what I wanted was a bleached out but warm look on my bases, and have them look like they were part of an area that belonged in the desert in the great temple and ruins left to be worn down by sand and time. My mental image was inspired by my childhood memories of going to egypt and then thinking about how everything I saw would look in thousands of years when it had been abandoned.

You can start every single base, pretty much, the same way. It only really matters two or three steps in, or when you start painting, as to whether you end up with stone bases, sand bases or even jungle bases. If you are short on time but want to have hand made bases for all of your army, the first few stages are very quick even when doing an armies worth. When it comes to painting and adding elements, you can just pull a few aside at a time and paint them up. The rest will store fine until you feel like dipping them in glue and grass.

I guess I should get on with the tutorial bit...

Materials:
Cork sheets
PVA glue
Sand Mix
Paint

Extras (To give your bases extra pizaz, but not necessary for good basing if you're tight on time or money):
Static Grass
Tufts
Mini foliage
Wire
Modelling stuff (Greenstuff, fimo, milliput, etc)


Rip some of your cork off. Tear it up into maneagle chunks roughly the size of your bases. Make sure you don't leave any pieces with a perfectly straight edge as it won't look natural. Save these pieces though, they can come in handy.


What is it? It's chunky... Well what's it got in it? ...Chunks
When you rip your cork you will end up with slanted edges. Take these into account when gluing your pieces down. Have a nice variation between little outcroppings and slopes.


I spent ages trying to take this picture that didn't make me look like I have massive man hands. Thanks for the genetics mum!
  Cover your cork in glue and squidge them onto your bases. Make sure you cover the slot if it has one. I always make sure that the slot is covered by a single cork piece to make pinning a model through it easier.

If you want more interest in your base, tear the cork into smaller pieces and arrange them in different ways before gluing them down. Add layers! I'm sticking with simple one pieces bases for this group.


I like to use precariously balanced glasswear to hold my bases in place
Now put something heavy on top of them and leave the glue to dry. PVA is useless at holding things in place until its dry - then it's great, so make sure you drop something on top even if you think you don't need it. 


To cover the rest of the base just blob down some PVA. Spread it around with a brush. As long as you clean it before it dries a brush you dip in PVA will be fine. Probably shouldn't do it with winsor and newtson's though. 
Once all your bare base is covered drop it into your sand pit. This is the important bit that can make or break the realism of your tiny man bases. You need a mix of sizes - at least three from tiny grains to rocks. In mine I have fine play sand, buff, small talus, medium talus, large talus, coal. Depending on how you've stirred it or shaken it up will affect what mix you get on your base, but its the random variation that makes it look more natural and less synthetic. Read more here.


I forgot to take a photo post sanding - but here's what they look like after the first basecoat. When paintingover cork you need to seal it with something first or it will absorb whatever you put on it. Most people use thinned PVA (1:1 glue:water) but I just gave them a couple of go overs with spray primer.

The pale ones are basecoated with 1:1 graveyard earth:water which is a gorgeous colour, and the red ones are the same but with bestial brown instead. Gives a give red earthy tone.

Here the bases have been completely dry brushed and you can see the wash drying in a dappled pattern

The next few stages are just dry brushing your appropriate colours on. For my theme I used warm creamy colours. I smothered the sandy parts with a variety of gryphonne sepia, devlan mud, mixes of both to give it some shadowing and variation. Once that was dry I drybrushed the tops with menoth white base. The larger 'boulder' type rocks I gave a very heavy drybrush of pale sand by vallejo.  The tops got a wash of ivory by vallejo, 1:1 paint to water. When this was dry the top is given a wash of gryphonne sepia. To get the dappled look and to add more visual interest don't apply the wash evenly. Make sure everything is covered but apply it with a swirling motion.


Time for pretend dry grass! I'm using the games workshop dry/dead grass because it's actually quite nice for small simple sections. Add a blob of glue where you want it - try not to make the bases too busy and choose places it wouldmake sense to have your extra features.

You can apply the grass in a number of ways. Either sprinkle it over, or do what I do.


I pinch the grass tightly between my fingers and poke it into the glue a few times. This helps it stick out in one direction more rather than getting floppy sad grass.


Then turn it upside and tap it on the bottom side of the base. This gets rid of excess and also makes it stand upright. Put aside to dry.


If you aren't keen on having grass on more than a few bases at least have some on hand for ones like this one. You can see at the middle bottom one of the stones was loose so I pulled it off. Otherwise it would've come off randomly in play or transport. Just blob some glue in there, add grass, and it's fixed in ten seconds.


Here's the finished lot! It took me a couple of hours to do, including all drying time except for priming (which I always leave overnight.) All I have to do now is give the rims a coat of graveyard earth!

Make sure your rim colour matches your bases - don't just go for black. On ones like these you must go for a lighter colour or it destroys the composition completely and makes the bases look awful.

I hope this comes in handy - happy base making!

Monday, 10 October 2011

Sandstone temple bases

Finally, after hundreds of destroyed bases and throwing sand all over my house, I have come up with some bases I am happy with for my sand/desert and temple theme.


As you may notice these pictures are rubbish - I have a new camera and have no idea how to use it.

Good times

Monday, 15 August 2011

Cowboys vs Orkliens

I've nearly finished! I actually went for a couple of walks today, and Hobbycraft, and did painting and work. Hopefully I should be feeling much better tomorrow. Apart from a few details (Some glaringly obvious) this batch of 5 are almost finished. I just need to go over them tomorrow and touch everything up - add bits of shading and washing here and there.

Here they are in their current state, complete with mood lighting!


Yeah uhh.. I think I forgot something


Hmm... Didn't forget anything here

Or here! :D

This one looks fine too

Yup, didn't forget anything for these guys ¬_¬
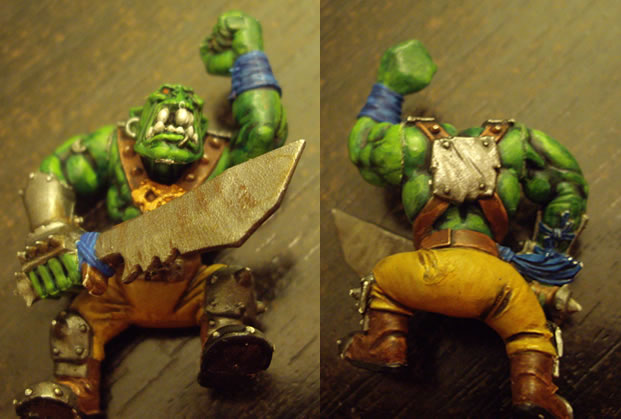
I focused mainly on skin, leather and the red tops this time. I was stupid and kept painting past when I wanted to so I rushed all the bone and messed up quite a few of the blue bits. It's annoying but I have to learn to stop and move on to the next set!

Then I thought I'd whip out the lolly sticks and uhh... random bits of wood and make myself some fancy bases. Don't cut wood with pliers - you'll just shoot bits into your boyfriends eye. Bits pinging everywhere! Not sure what I am going to use to cut them tomorrow, unless I buy the world's tiniest saw...

I've given them a wash of devlan and bits of badab black and they actually look really good. I'm gonna pick up some ink from hobbycraft tomorrow to make my own washes with and use as is, because if I'm making scenery too the wash pots definitely do not hold enough.

Very sleepy, I shall hopefully get some more of the blog done tomorrow now that I'm feeling less like the undead.